🎩🎩🎩 Don’t try to unsolder the entire connector! Here is a tip for all who need to unsolder the multi-pin connector from the boards. First thing first… ❗️ The value of the assembled PCB is much higher than the cost
Single pin at a time
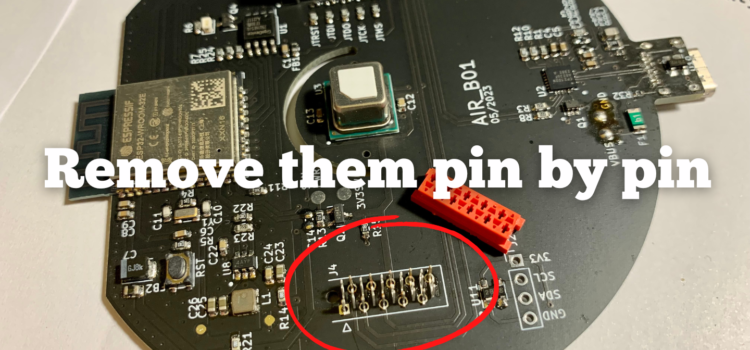

🎩🎩🎩 Don’t try to unsolder the entire connector! Here is a tip for all who need to unsolder the multi-pin connector from the boards. First thing first… ❗️ The value of the assembled PCB is much higher than the cost
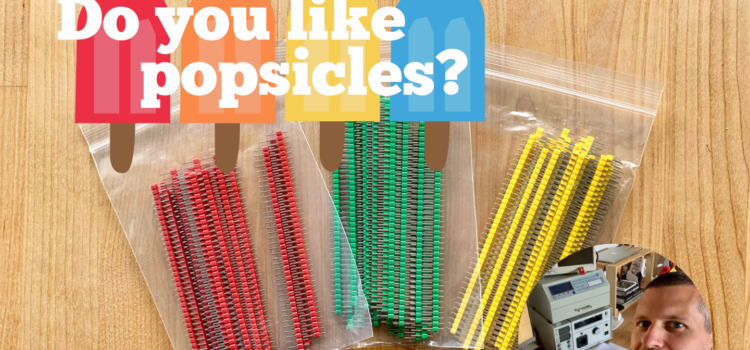
🍭🍭🍭 𝐃𝐨 𝐲𝐨𝐮 𝐥𝐢𝐤𝐞 𝐩𝐨𝐩𝐬𝐢𝐜𝐥𝐞𝐬? I don’t, but I have a thing in ones 👇👇👇 Your design can be just more fun and more human. The regular black headers are good but those red or yellow ones lit up your
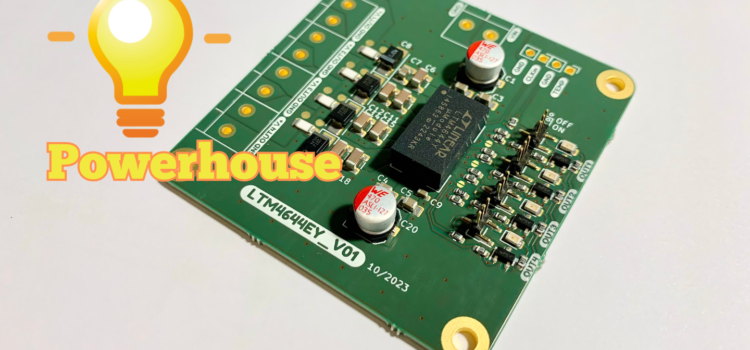
Today, I want to share some insights from a project I’ve been working on, targeting power management in hardware design. I’ve created an evaluation PCB for the LTM4644 PMIC (Power Management IC) by Analog Devices. 📊 Quick Specs: 1️⃣ Outputs:
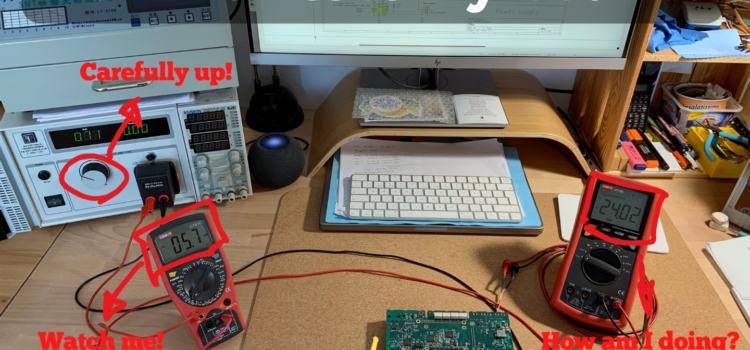
🔌⚡ 🔌⚡ 🔌⚡ 𝐀 𝐌𝐚𝐢𝐧𝐬 𝐏𝐨𝐰𝐞𝐫 𝐒𝐮𝐩𝐩𝐥𝐲 𝐄𝐱𝐚𝐦𝐢𝐧𝐚𝐭𝐢𝐨𝐧 As an engineer deeply engrossed in the world of electronics, board testing remains a critical phase in the lifecycle of any design. Every board tells a story, and it’s my task to
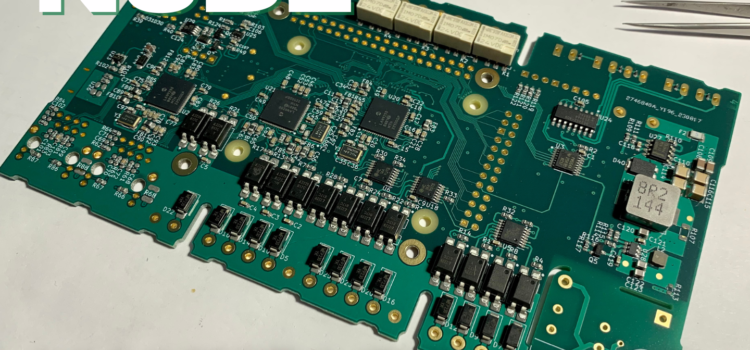
🏗️🏗️🏗️ 𝐏𝐫𝐨𝐭𝐨𝐭𝐲𝐩𝐞 𝐦𝐚𝐧𝐮𝐟𝐚𝐜𝐭𝐮𝐫𝐢𝐧𝐠 I’ve just knee-deep in the prototype manufacturing phase of the DIN-rail compatible industrial node I’d previously introduced. For those who missed my earlier post, this node boasts an array of features tailored for the industrial environment, and
🚁🚁🚁 𝐓𝐨𝐲 𝐝𝐫𝐨𝐧𝐞 𝐟𝐥𝐢𝐠𝐡𝐭 𝐜𝐨𝐧𝐭𝐫𝐨𝐥𝐥𝐞𝐫 𝐦𝐚𝐧𝐮𝐟𝐚𝐜𝐭𝐮𝐫𝐢𝐧𝐠 𝐬𝐭𝐨𝐫𝐲 Here’s a brief breakdown of the steps I follow to transform a bare board into a fully assembled PCB: 1️⃣ 𝗦𝗼𝗹𝗱𝗲𝗿 𝗣𝗮𝘀𝘁𝗲 𝗔𝗽𝗽𝗹𝗶𝗰𝗮𝘁𝗶𝗼𝗻 (Top Layer): A precise manual (stencil) solder paste application on
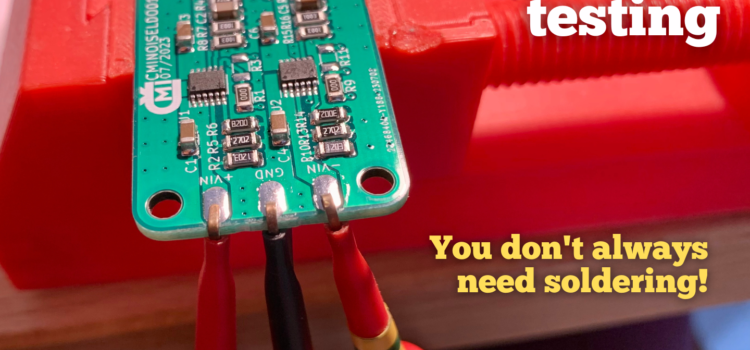
👷♀️🔧👷♀️ 𝐂𝐌𝐈𝐍𝐎𝐈𝐒𝐄𝐋𝐃𝐎𝟎𝟏 testing Insight from my lab: Currently, I’m in the midst of testing the 𝐂𝐌𝐈𝐍𝐎𝐈𝐒𝐄𝐋𝐃𝐎𝟎𝟏 assemblies. This phase is all about ensuring the performance and reliability of these specialized PCB assemblies, each loaded with ultra-low noise LT3045 and LT3094
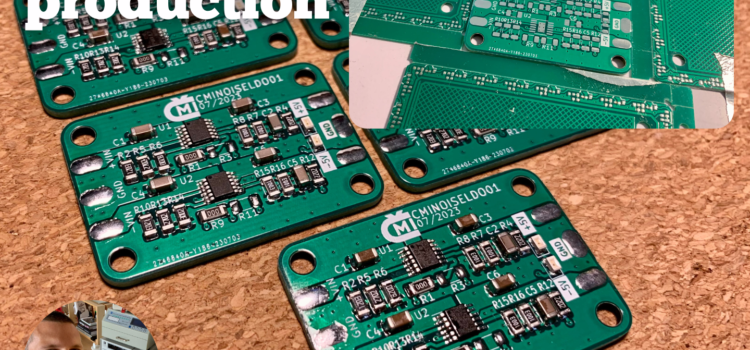
🔋🔋🔋 𝐂𝐌𝐈𝐍𝐎𝐈𝐒𝐄𝐋𝐃𝐎𝟎𝟏 𝐚𝐬𝐬𝐞𝐦𝐛𝐥𝐲 𝐦𝐚𝐧𝐮𝐟𝐚𝐜𝐭𝐮𝐫𝐢𝐧𝐠 I’ve just kicked off the production phase for the CMINOISELDO01 PCB assembly. This project is specially tailored to a client’s precise requirements, incorporating two high-performance LDO regulators – the LT3045 and the LT3094. These regulators provide
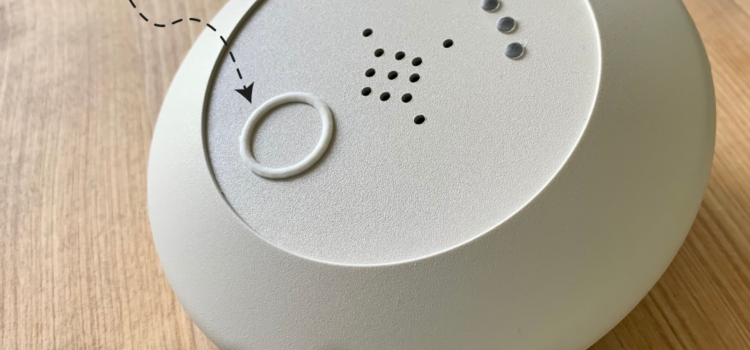
🆕🆕🆕 𝐏𝐫𝐨𝐣𝐞𝐜𝐭 𝐗 – 𝐟𝐢𝐧𝐢𝐬𝐡𝐞𝐝 𝐩𝐫𝐨𝐭𝐨𝐭𝐲𝐩𝐞 𝐦𝐢𝐥𝐞𝐬𝐭𝐨𝐧𝐞 Anchoring my new design is the versatile ESP32-WROOM module, ensuring full compatibility with Arduino. This microcontroller allows me to pack complex functionalities into the device while keeping it as approachable as possible. Incorporating
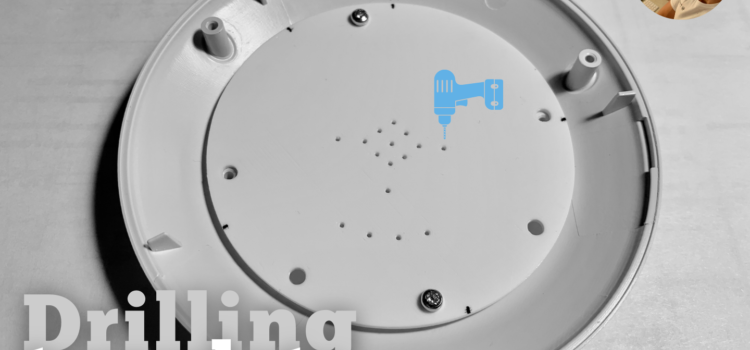
✏️✏️✏️ 𝟑𝐃-𝐩𝐫𝐢𝐧𝐭𝐞𝐝 𝐝𝐫𝐢𝐥𝐥𝐢𝐧𝐠 𝐭𝐞𝐦𝐩𝐥𝐚𝐭𝐞 Let’s say you need to drill your enclosure and the result must be perfect. 1️⃣ Design the PCB for your enclosure or buy a 𝗛𝗮𝗿𝗱𝘄𝗮𝗿𝗲 𝗗𝗲𝘀𝗶𝗴𝗻 𝗧𝗲𝗺𝗽𝗹𝗮𝘁𝗲 for verified templates at Beny-devices.eu. The second option is